
Last updated September 23, 2026
Free visual inspection and a written scope of work before any mitigation begins - photos, moisture readings, and drying logs go in your claim file
The scope we write is the scope we bill. Anything new gets shown to you, in writing, before we touch it.
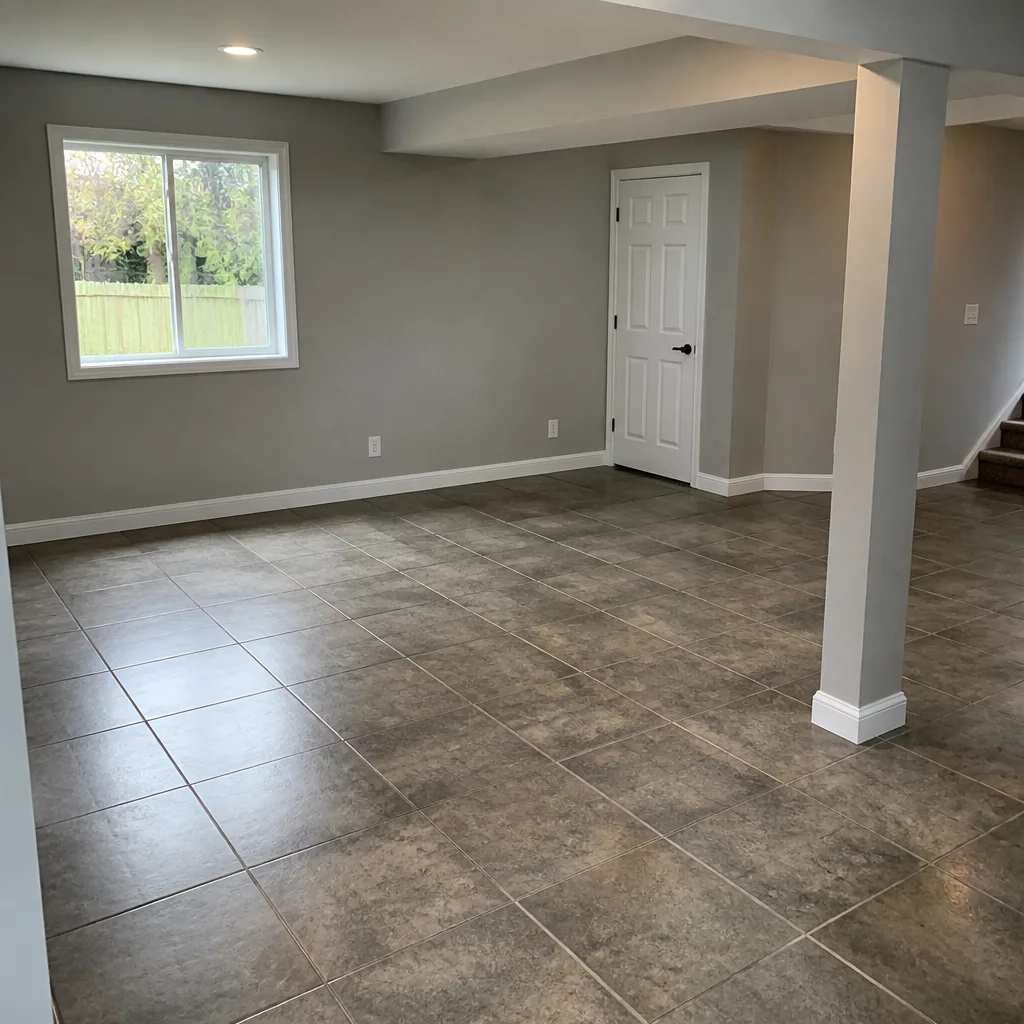
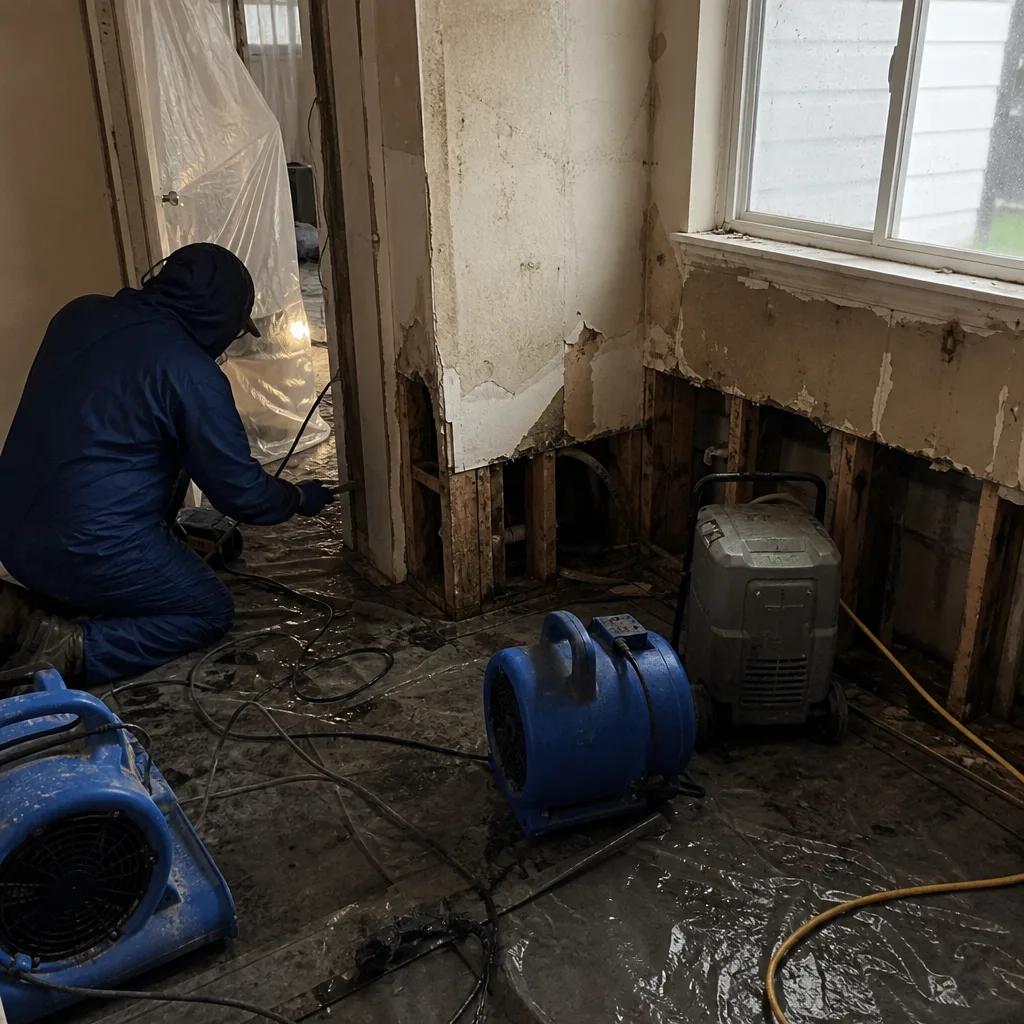 Before
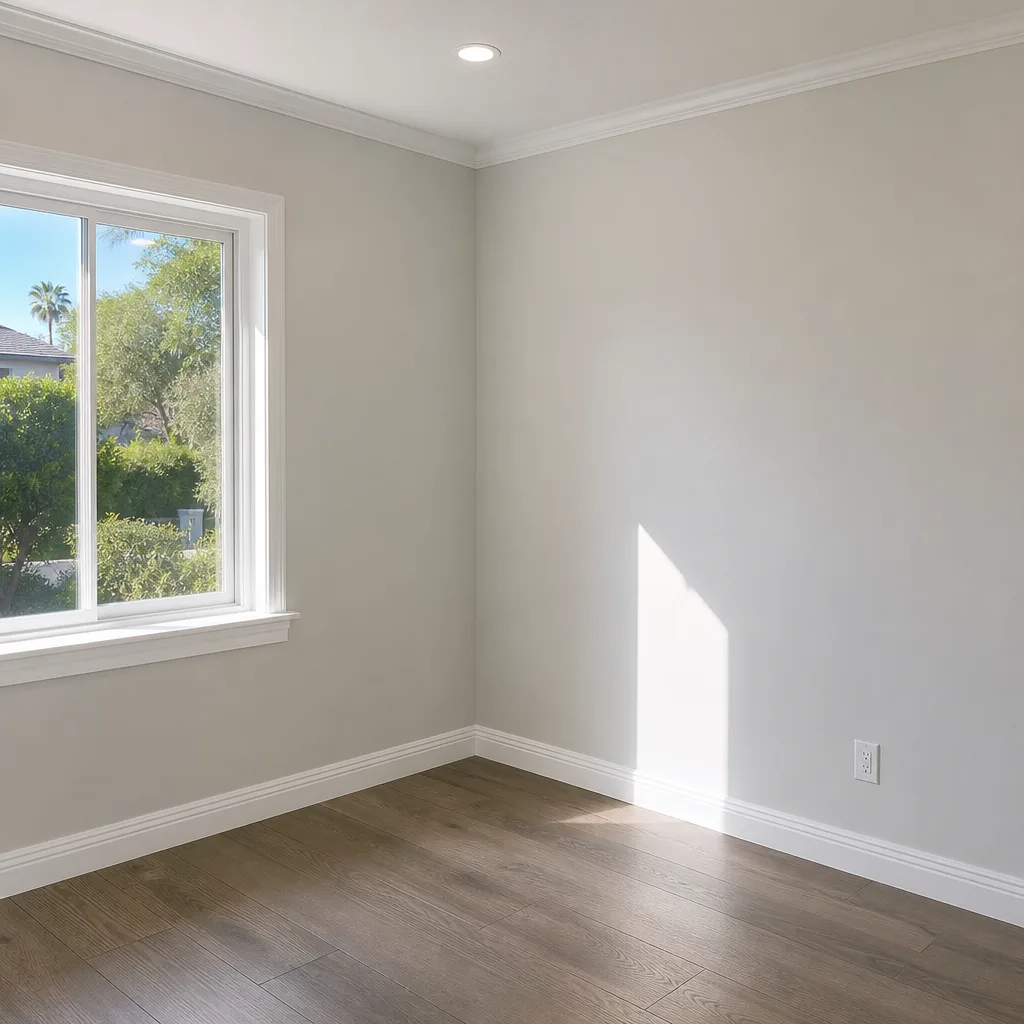 After
After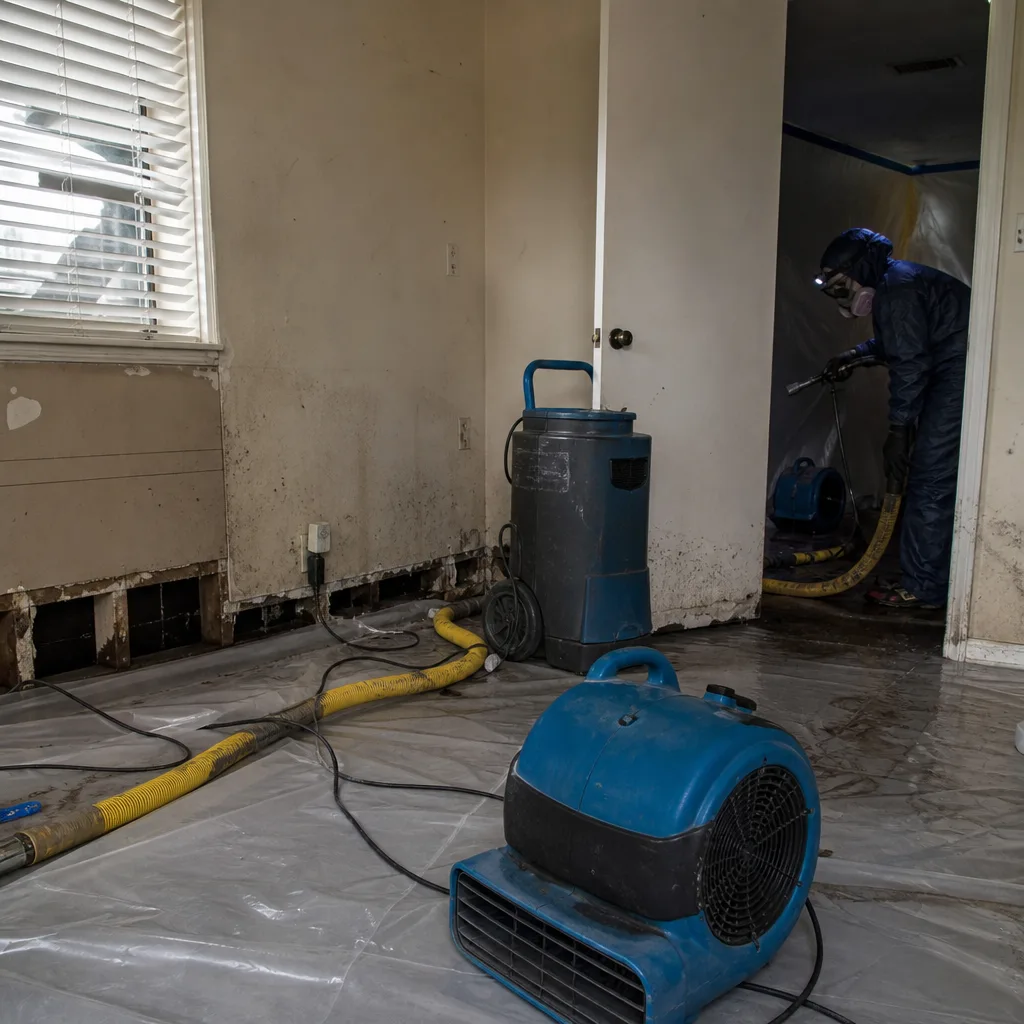 Before
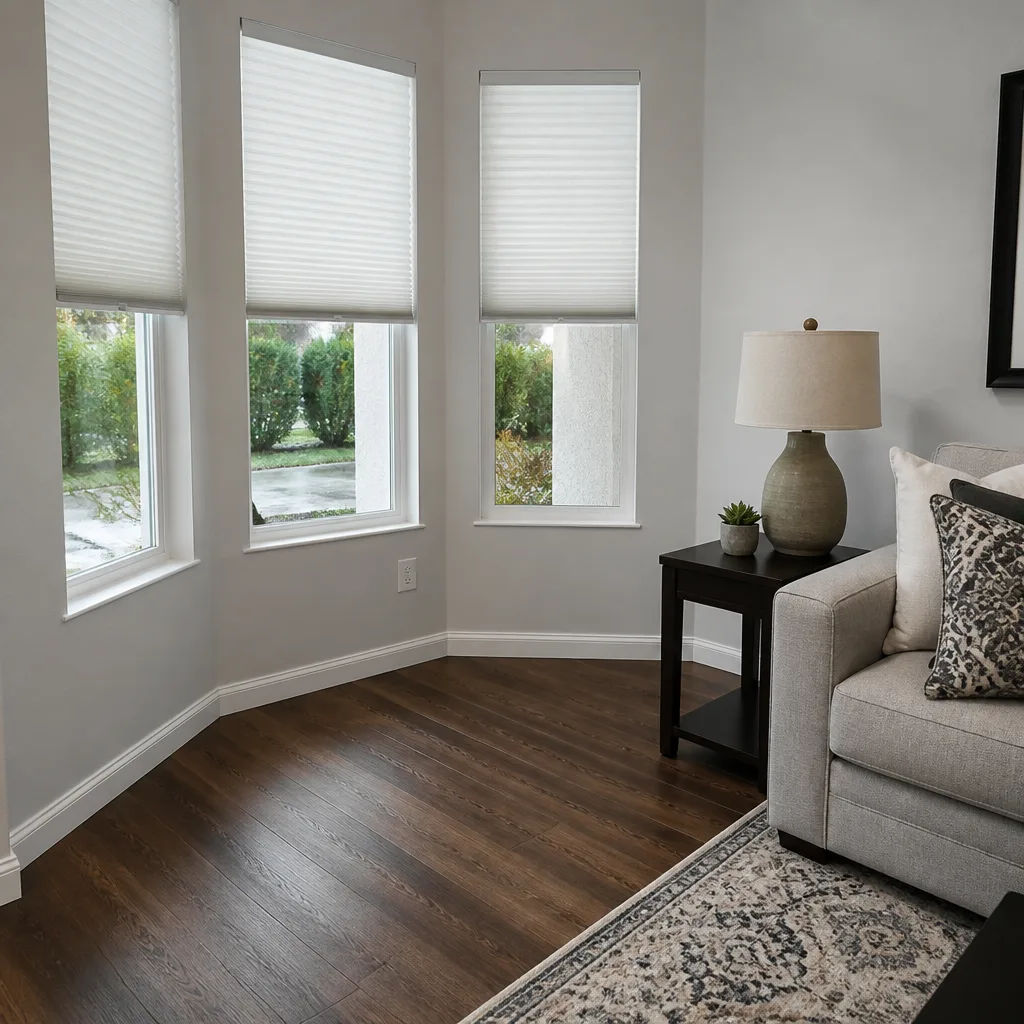 After
After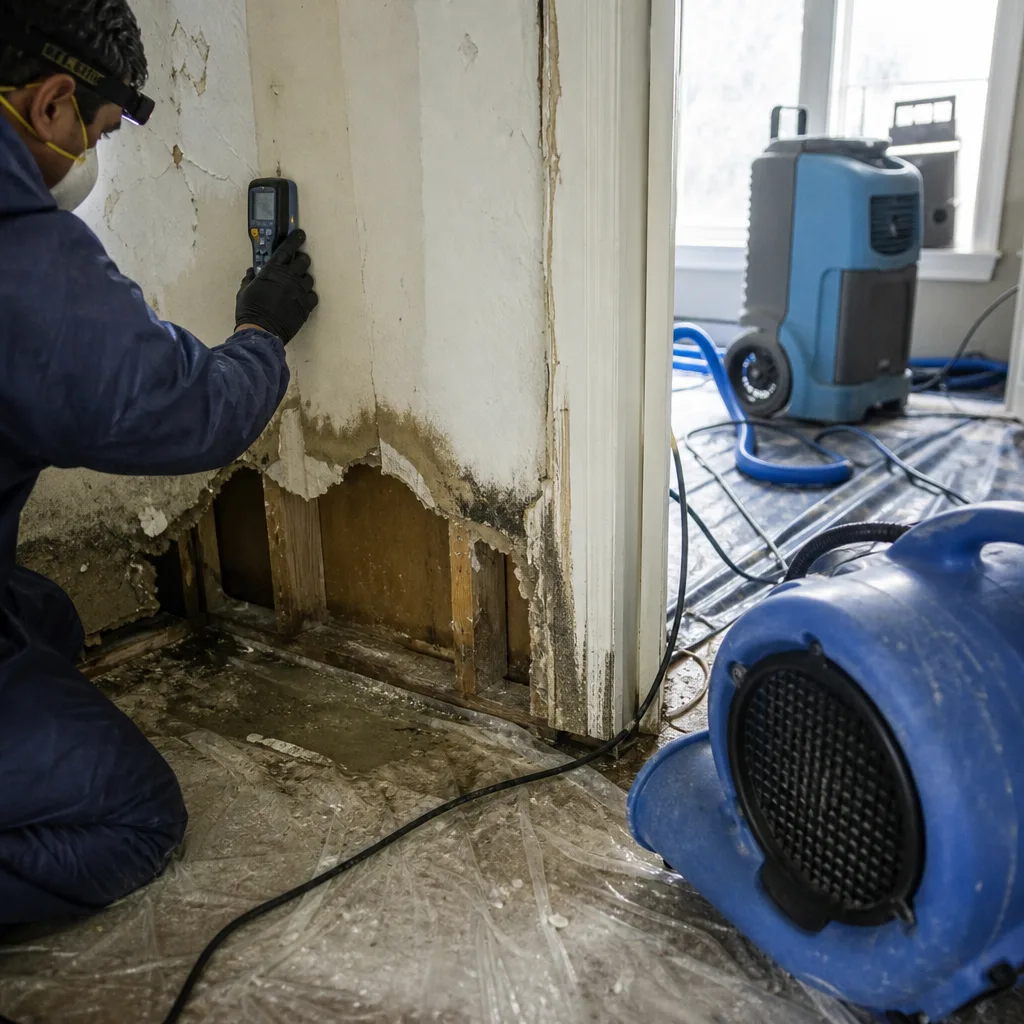 Before
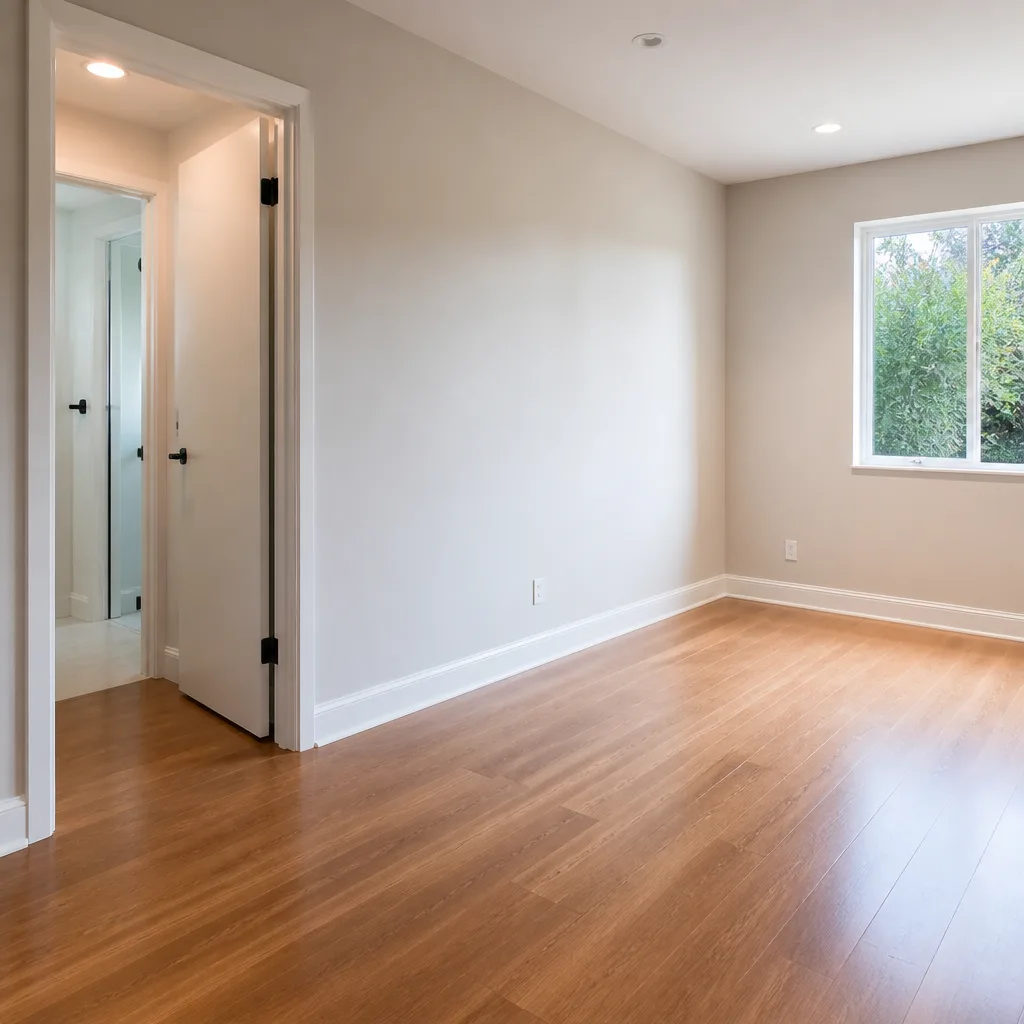 After
AfterDamage Restoration Warning Signs: A Los Angeles Homeowner’s Reference Guide
A musty odor in a Los Angeles home typically means mold colonization has already reached a density that will require professional remediation. By that point, a slow intrusion that might have cost $800 to address with targeted drying has become a project that routinely runs $8,000 to $25,000. In our experience across more than 12,000 homes since 2011, the homeowners who spend the least on restoration are not the ones who react fastest to visible damage. They’re the ones who know which numbers to watch before anything looks wrong. This guide gives each warning sign a measurable threshold, the specific tool to detect it, and the cost range of catching it early versus late. For more guides & resources on protecting your home, see our blog.
Quick Answer
The most consequential damage warning signs in Los Angeles homes are measurable, not visible. Sustained interior relative humidity above 60%, drywall moisture readings above 19%, and concrete slab relative humidity above 75% at depth are the three thresholds that predict major damage six to eighteen months before stains or odors appear. A homeowner with a basic moisture meter and a $25 humidity logger can catch most intrusion paths in the first 72 hours.
Table of Contents
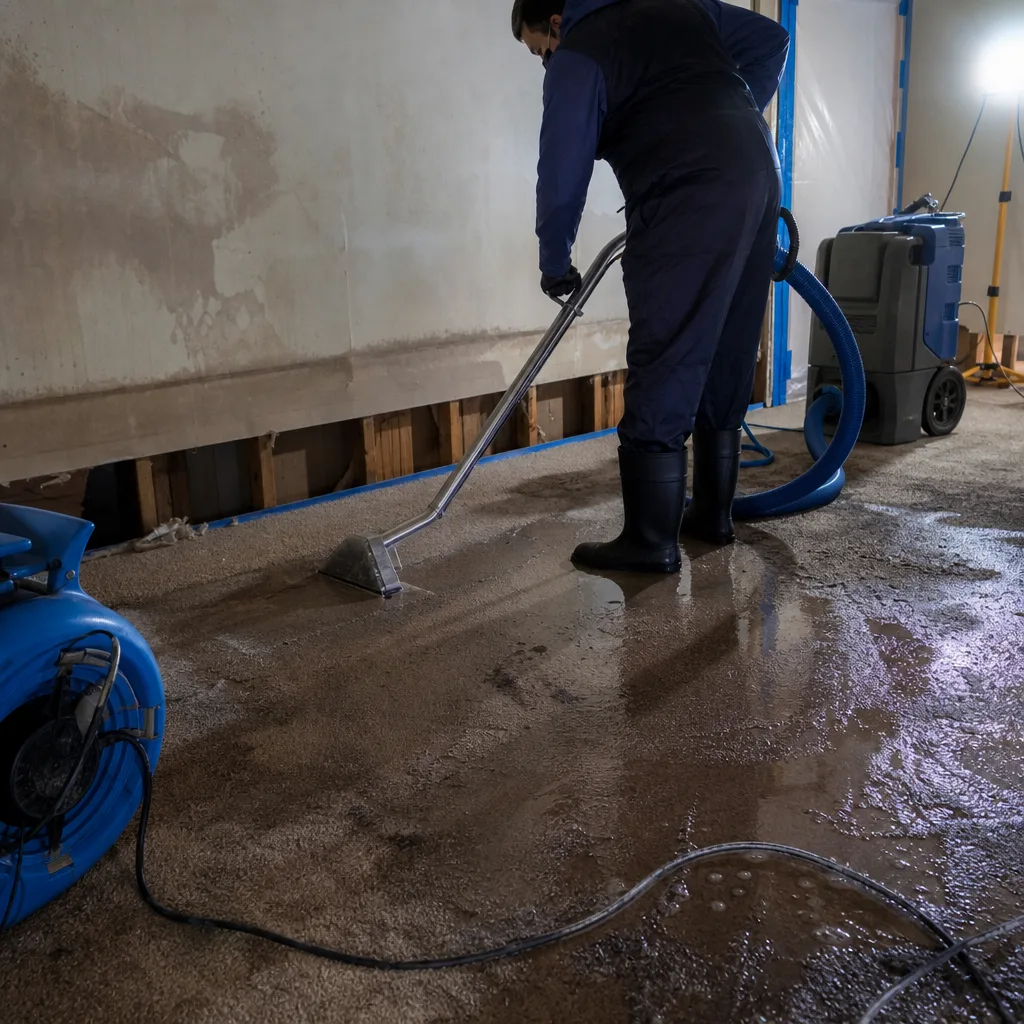
- The Measurable Precursors to Visible Damage
- Los Angeles Construction-Specific Warning Signs
- The 72-Hour Monitoring Sequence: Condensation vs. Active Intrusion
- Warning Signs That Affect Insurance Claims
- Three Warning Signs Dismissed as “Just How Old Houses Are”
- What the Numbers Mean: Tools, Thresholds, and Cost Ranges
- Common Mistakes to Avoid
- When to Call a Professional
- Frequently Asked Questions
 Before
 After
AfterThe Measurable Precursors to Visible Damage
Every major restoration project we’ve scoped in Los Angeles began with numbers that were ignored. The homeowner saw nothing wrong. The meter, if anyone had used one, told a different story.
Here are the three thresholds we document on every initial assessment, and what each predicts.
Interior Relative Humidity Sustained Above 60%
Los Angeles’s coastal influence creates a narrow band of “normal” indoor humidity, roughly 45% to 55% relative humidity (RH) in conditioned spaces. When RH climbs above 60% and stays there for more than 48 hours, mold spores that exist in every home begin active colonization on cellulose surfaces: paper-faced drywall, wood framing, dust layers on ductwork.
The tool: a basic digital hygrometer or humidity data logger. We recommend models that record continuous readings, not spot checks, because a bathroom spike to 70% after a shower is normal; a bedroom that reads 62% at 6 a.m., 63% at noon, and 61% the following morning is not.
What to do: Place loggers in the lowest airflow areas of the house - inside closets, behind furniture against exterior walls, in the crawl space if accessible. Download data after 72 hours. Sustained elevation above 60% without an obvious source (a running humidifier, an unvented dryer) indicates either a hidden moisture source or an HVAC system that is not removing latent load effectively. In Los Angeles’s older neighborhoods - think Highland Park, Eagle Rock, or parts of the San Fernando Valley - we’ve found this pattern traces to duct leakage pulling attic air into conditioned space, or to slab edge moisture wicking through unsealed concrete.
Surface Moisture Readings Above 19% on Drywall
Pinless moisture meters read the dielectric properties of a material and express moisture content as a percentage of the material’s dry weight. For paper-faced drywall, 19% is the critical threshold: below this, mold growth is inhibited by lack of available water; above this, colonization accelerates exponentially.
The tool: a pinless moisture meter with drywall scale calibration. Pin-type meters are more accurate for wood but drive holes into finished surfaces; pinless meters scan through paint and texture without damage. Expect to spend $150 to $400 for a reliable unit. We use meters calibrated against our water damage restoration in Los Angeles reference standards, but homeowner-grade units from reputable manufacturers will detect the threshold reliably.
Where to scan: the bottom 12 inches of exterior walls, areas below windows, the ceiling plane below bathrooms and kitchens, and any wall that shares a plane with a stucco exterior. In Los Angeles’s flat-slab construction, perimeter walls are the most common failure point. We’ve documented hundreds of cases where a window weep screed was blocked by grade or stucco patch, directing water into the wall cavity. The drywall reads 22% to 35% at the base, the homeowner smells nothing, and six months later we’re removing four feet of wall and treating framing.
Concrete Slab Relative Humidity Above 75% at Depth
This is the warning sign almost no homeowner checks, and it’s the one that destroys flooring investments. In-situ relative humidity testing, per ASTM F2170, measures moisture conditions inside the concrete slab - where flooring adhesives and vapor barriers interact - rather than at the surface.
The tool: in-situ RH probes, or a contractor who will install them. The test requires drilling holes to 40% of slab depth, inserting sealed probes, and waiting 72 hours for equilibrium. Surface moisture meters are useless for this; they read the top millimeter, which may be dry while the slab interior is saturated.
In Los Angeles, slab moisture above 75% RH at depth predicts adhesive failure, flooring cupping, and subfloor mold. We’ve replaced $30,000 of engineered hardwood in Brentwood and Pacific Palisades homes where the flooring installer skipped this test, laid product over a 92% RH slab, and walked away. The homeowner’s first warning was cupping at the perimeter, six months after installation. By month nine, we were treating subfloor mold and the flooring was landfill.
Early intervention cost: $800 to $2,500 for vapor barrier installation or topical moisture mitigation. Late intervention cost: $8,000 to $35,000 for flooring removal, subfloor treatment, and reinstallation.
Los Angeles Construction-Specific Warning Signs
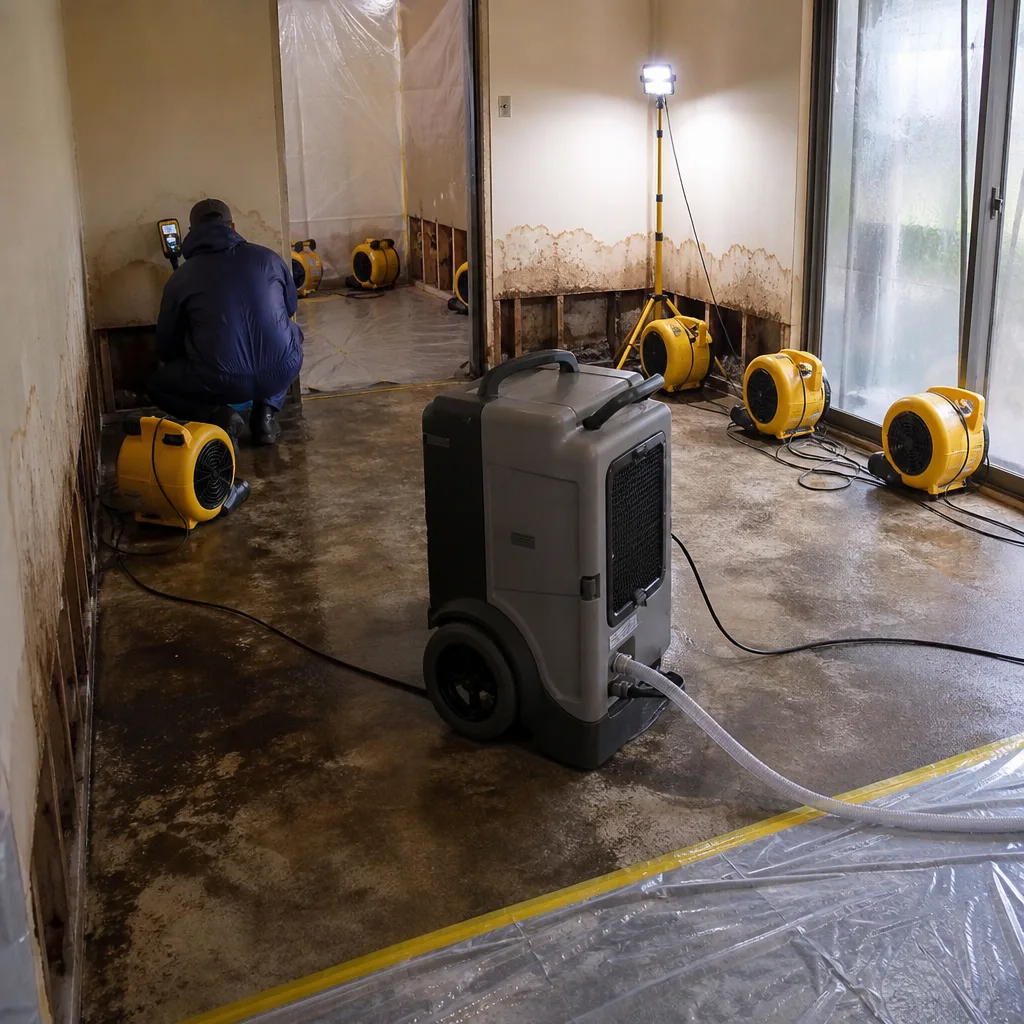
Los Angeles’s housing stock has distinct patterns that create predictable failure modes. Stucco-over-frame construction, flat concrete slabs, and the seismic retrofit history of many neighborhoods produce warning signs that a generic guide will miss. For a broader look at protecting your home throughout the year, see our Seasonal Damage Restoration Care for Los Angeles: Year-Round Homeowner’s Guide.
Efflorescence on Stucco Below Window Weep Screeds
Efflorescence is the white, powdery deposit of soluble salts left when water moves through masonry or stucco and evaporates at the surface. On Los Angeles stucco, it appears most often as a horizontal band below window sills, at the level of the weep screed.
The weep screed is a metal flashing at the base of the stucco layer, designed to drain water that penetrates the stucco face. When it’s blocked by soil, hardscape, or a well-meaning stucco patch, water backs up into the wall cavity. The efflorescence you see is the visible residue of a hidden reservoir.
What to check: Walk the perimeter after rain or irrigation. White staining below windows, especially if it reappears after brushing, indicates active water movement. Tap the stucco gently with a hard object. A hollow sound suggests delamination - the stucco has separated from the drainage plane, and water is trapped behind it.
In neighborhoods like Los Feliz and Silver Lake, where 1920s construction has been repeatedly modified, we’ve found weep screeds buried by raised garden beds, covered by deck flashing, or simply omitted during additions. The efflorescence has been present for years. The homeowner noticed it when the interior drywall failed.
Hollow-Sounding Tile at Slab Perimeter
Tile installed over concrete should sound solid when tapped with a coin or knuckle. A hollow, drum-like sound indicates loss of bond between tile and substrate. At the perimeter of a Los Angeles slab, this almost always means moisture vapor pressure has degraded the thinset adhesive.
The mechanism: groundwater or irrigation moisture wicks through the slab edge, vaporizes at the warmer interior surface, and creates pressure that breaks the adhesive bond. This is not a grout problem. Regrouting will not fix it. The tile will continue to loosen, and the subfloor beneath will develop mold-sustaining conditions.
Where to check: perimeter tiles in ground-floor rooms, especially those with exterior irrigation nearby or negative grade sloping toward the foundation. In the San Fernando Valley, where expansive clay soils create seasonal moisture swings, we’ve seen this pattern accelerate after wet winters.
Rust Staining at Rebar Shadow Lines in Concrete Block
Older Los Angeles homes, particularly in Mid-City and areas with 1940s to 1960s construction, used concrete block foundation walls with steel reinforcement (rebar). When moisture penetrates the block and reaches the steel, oxidation produces rust that migrates to the interior surface.
The warning sign: vertical rust stains that align with the horizontal mortar joints, where rebar was placed during construction. These are not random; they map the steel location precisely. The stain means water has reached the reinforcement, which means the block is saturated, which means the interior side of that wall is likely above 19% moisture content.
We’ve scoped finished basements in Los Angeles where rust shadow lines were visible on painted block for years. The homeowner painted over them. When we removed the finish system, the framing behind was compromised and the insulation was mold-contaminated. The rust was a timestamp: water had been present long enough to oxidize steel.
The 72-Hour Monitoring Sequence: Condensation vs. Active Intrusion
Not every moisture reading means you have a leak. Los Angeles’s temperature swings, especially near the coast, can produce condensation events that look like intrusion. The difference matters: condensation is managed with ventilation or insulation; intrusion requires source elimination and drying.
Here’s the sequence we use to distinguish them, simplified for homeowner execution.
- Document the initial finding. Record the location, the moisture reading, the surface temperature, and the ambient relative humidity. Note the weather conditions and whether HVAC was running.
- Remove the transient source. If the finding is near a bathroom, don’t use that shower for 24 hours. If it’s near a kitchen, avoid boiling water. If it’s on a north-facing wall after a cold night, note that.
- Introduce controlled airflow. Place a small fan to move air across the affected area. Increase room ventilation if possible. The goal is to eliminate condensation as a variable.
- Re-measure at identical conditions. Same time of day, same meter, same location. Do this at 24 hours, 48 hours, and 72 hours.
- Interpret the trend.
- Condensation pattern: Moisture drops significantly within 24 hours, stabilizes below 15% by 72 hours, and does not return when conditions repeat. The source was transient humidity on a cool surface.
- Active intrusion pattern: Moisture remains elevated, drops minimally with airflow, or rebounds when airflow stops. The source is continuous - a plumbing leak, exterior water entry, or capillary wicking from soil contact.
We’ve walked homeowners through this sequence by phone. In about 60% of cases, the finding resolves as condensation and they save the cost of a service call. In the other 40%, the 72-hour data becomes the first documentation of a new damage event - critical for insurance purposes, which we’ll address next.
Warning Signs That Affect Insurance Claims
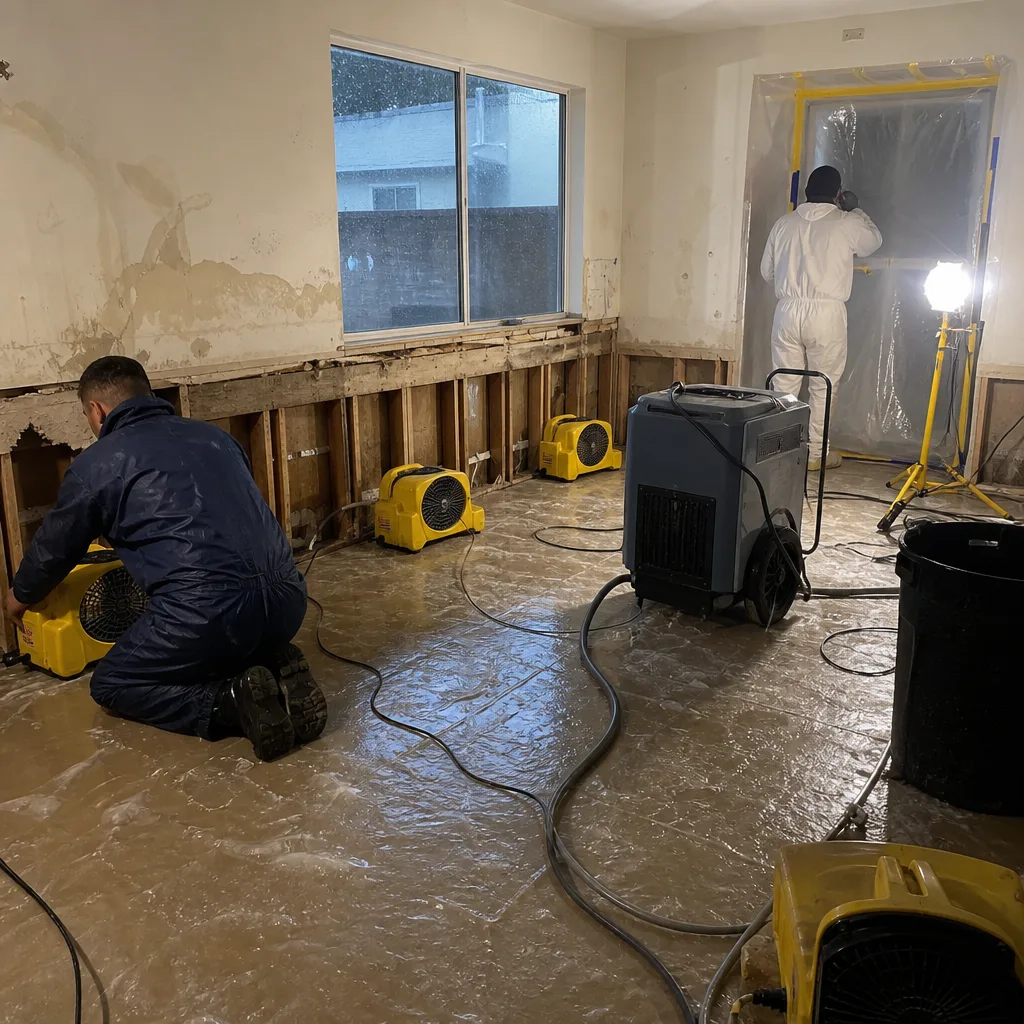
Insurance adjusters are trained to look for evidence of pre-existing, long-term, or maintenance-related damage. The warning signs they photograph and document become the basis for claim reductions or denials. Understanding what they look for, and how to establish that your damage is new, protects your coverage.
The Documentation Gap That Costs Homeowners
Back to Dry was founded in 2011 by a former claims adjuster who built the company around this specific problem: sloppy or missing documentation turns legitimate claims into disputes. Our daily drying logs, written scopes, and room-by-room moisture readings exist because we’ve seen what happens when they’re absent.
Pre-Existing Damage Indicators Adjusters Document
- Multiple paint layers over water stains: Indicates repeated events, not a single sudden occurrence. The adjuster will count the layers and estimate the timeline.
- Mold with established fruiting bodies and sporulation patterns: Suggests growth over weeks or months, not days. Sudden water events produce different colonization stages.
- Wood rot with depth and structural compromise: Requires sustained moisture over extended periods. A one-time flood does not produce advanced rot in baseboards or framing.
- Efflorescence with built-up, layered deposits: Shows repeated wet-dry cycles, not a single intrusion event.
- Corroded plumbing fittings with uniform oxidation: Indicates slow, chronic leakage rather than sudden failure.
How to Document That a Condition Is New
The most powerful evidence is a dated photograph with a moisture reading. If you’ve been running the 72-hour monitoring sequence, you already have this. Supplement it with:
- Photos of the same area from before the event, if available (home sale photos, renovation documentation, even social media backgrounds).
- HVAC or smart home data showing humidity history. Many thermostats log this automatically.
- Witness statements from service providers who were in the space recently. A plumber who saw dry walls last month is a credible source.
- Your own written timeline, created immediately, before memory degrades.
When DryMark Restoration Los Angeles responds to a loss, our documentation package includes a photo record on every visit, moisture readings mapped to a floor plan, and a written scope before work begins. This is standard, not an upsell. Haven Standard, Clause 1 requires a written price before any work starts, and our photo documentation is designed to produce the evidence an adjuster needs to pay the claim without dispute. If you’re evaluating whether to handle repairs yourself or call a professional, our DIY vs Professional Damage Restoration: The Los Angeles Homeowner’s Decision Guide can help you decide.
We also offer a Free Second Opinion on any competitor’s written estimate. If another restoration company has scoped your loss, bring us their numbers. Not sure how to vet a contractor? Our How to Hire a Damage Restoration Contractor in Los Angeles: A Step-by-Step Guide walks you through the process. We’ll review the moisture readings, the equipment specifications, and the line-item pricing at no charge. In our experience, estimates that omit in-situ slab testing, specify insufficient air changes for the affected volume, or fail to document pre-existing conditions are the ones that create claim problems later.
Three Warning Signs Dismissed as “Just How Old Houses Are”
These are the findings that generate the most expensive late-stage calls we receive. Each has been explained away by a previous owner, a contractor, or the homeowner’s own desire to avoid a problem.
1. “The House Always Smells a Little Musty in Summer”
In Los Angeles, this is often attributed to the lack of basement construction and the prevalence of slab-on-grade floors. The explanation is half true: slab construction does change air patterns. But a persistent musty odor, even faint, indicates active mold metabolism releasing microbial volatile organic compounds (MVOCs). By the time the odor is detectable to the average human nose, mold colonization has typically reached 10 to 25 square feet of affected surface area.
Early cost: $800 to $2,500 for targeted remediation, source elimination, and preventive drying. Late cost: $8,000 to $25,000 for full containment remediation, HVAC cleaning, and reconstruction.
The test: Don’t trust your nose. Place a humidity logger in the area where the odor is strongest. If RH exceeds 60% for more than 48 hours, you have a moisture problem that requires source identification, not air freshener.
2. “The Tile’s Been Loose Since We Moved In”
Loose perimeter tile is not character. It’s a moisture vapor pressure signature. In Los Angeles’s climate, with irrigation seasons and occasional heavy rains, slab moisture cycles annually. The tile that was “just a little loose” in year one becomes significantly delaminated by year three, and by year five the subfloor is often mold-contaminated.
Early cost: $1,500 to $4,000 for tile removal, slab moisture mitigation, and reinstallation. Late cost: $6,000 to $18,000 including subfloor treatment, potential framing exposure, and full flooring replacement.
The test: Tap the perimeter tiles with a coin monthly. Document any expansion of the hollow area. If it grows, the moisture source is active and worsening.
3. “That Crack in the Stucco Has Been There Forever”
Stucco cracks are indeed common in Los Angeles, where seismic activity, soil movement, and thermal cycling stress the cladding. But a crack that admits water is not a cosmetic issue. Water entering through a stucco crack runs down the drainage plane, pools at obstructions, and enters the wall cavity at the weakest point - often a window or door rough opening.
The critical distinction: a hairline crack that is sealed by paint and does not reach the underlying paper lath is cosmetic. A crack that has widened, spalled the stucco edge, or shows staining below it is a water management failure.
Early cost: $200 to $800 for proper crack repair with elastomeric coating and drainage verification. Late cost: $4,000 to $15,000 for wall cavity drying, damaged sheathing replacement, and interior finish repair.
The test: After rain or irrigation, examine the crack with a flashlight. Water movement will show as darkening at the crack edges or staining on the surface below. If you see this, the crack is active and requires repair that restores the drainage plane, not just surface caulking.
What the Numbers Mean: Tools, Thresholds, and Cost Ranges
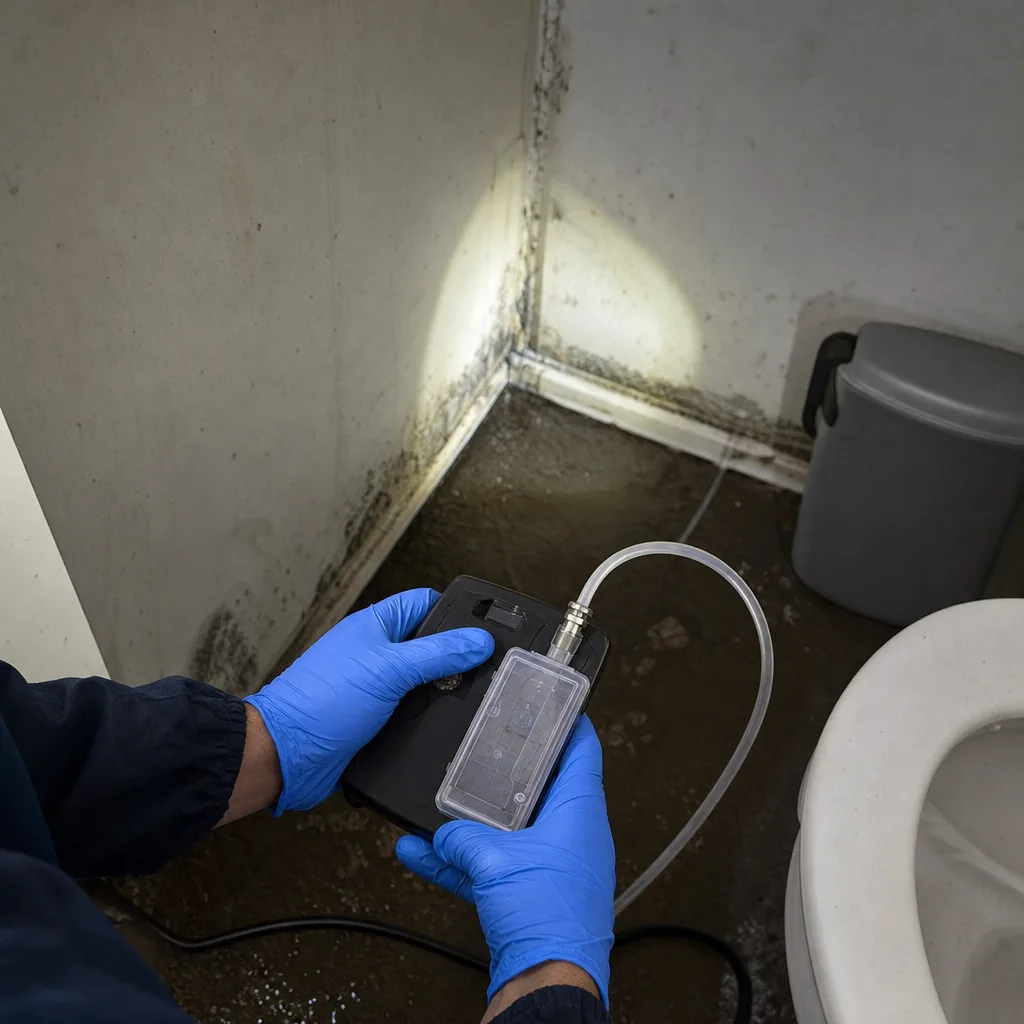
Here’s a consolidated reference for the measurements discussed throughout this guide, with the specific equipment we use and verify on Los Angeles jobs.
| Measurement | Threshold | Tool | Early Intervention Cost | Late Intervention Cost |
|---|---|---|---|---|
| Interior relative humidity | >60% sustained 48+ hours | Digital hygrometer / data logger | $800 - $2,500 | $8,000 - $25,000 |
| Drywall moisture content | >19% on paper-faced gypsum | Pinless moisture meter, drywall scale | $1,200 - $3,500 | $5,000 - $18,000 |
| Concrete slab RH at depth | >75% per ASTM F2170 | In-situ RH probe system | $800 - $2,500 | $8,000 - $35,000 |
| Stucco efflorescence | Visible, recurring after cleaning | Visual inspection, percussion test | $200 - $800 | $4,000 - $15,000 |
| Tile delamination | Hollow sound expanding over time | Acoustic tap test | $1,500 - $4,000 | $6,000 - $18,000 |
| Musty odor | Detectable, persistent, seasonal or constant | Olfactory + humidity logger confirmation | $800 - $2,500 | $8,000 - $25,000 |
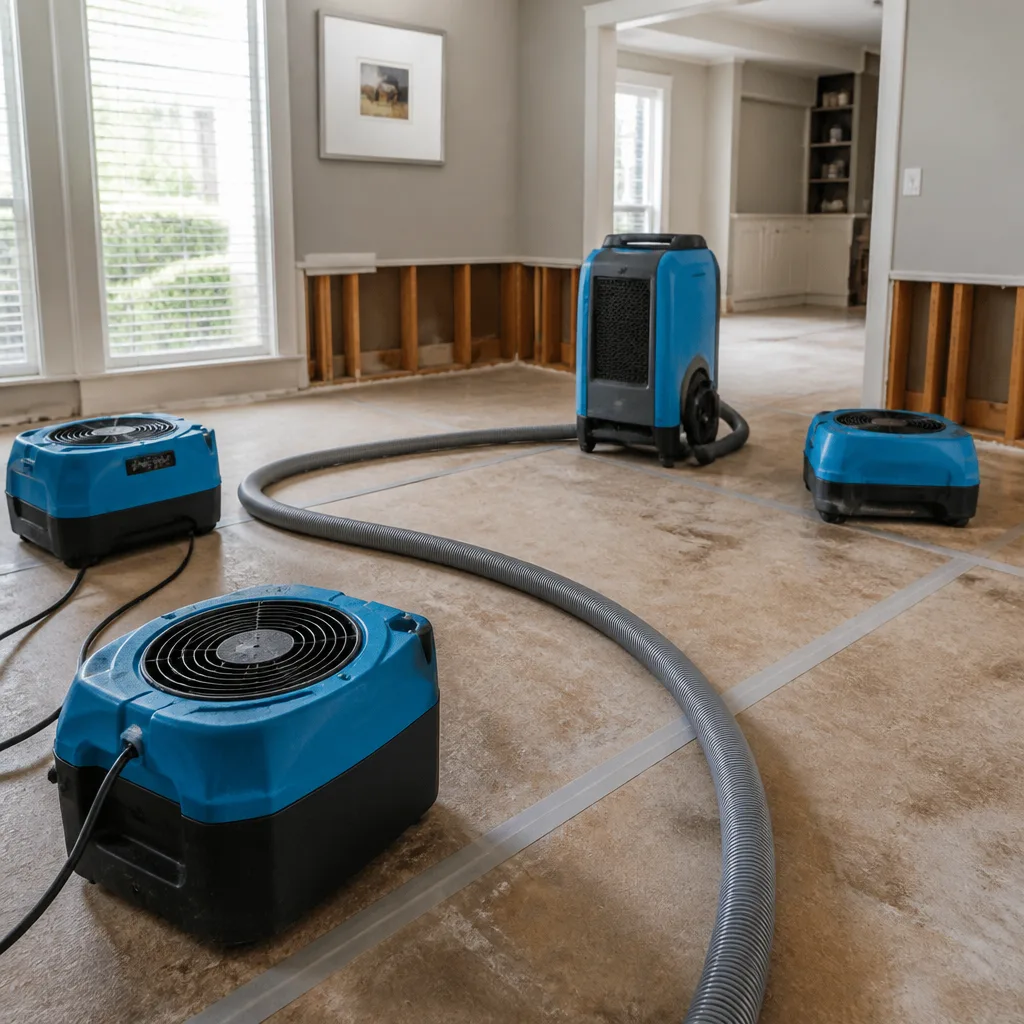
Our drying systems use equipment from Phoenix, XPOWER, and B-Air, documented to IICRC, RIA, and IFA standards. The daily moisture logs we produce with this equipment are the documentation that turns restoration invoices into payable insurance claims. Without them, you’re negotiating from a position of assertion rather than evidence.
Common Mistakes to Avoid
- Using a surface moisture meter on concrete and drawing conclusions. Surface readings on concrete are meaningless for flooring decisions. Only in-situ RH testing at depth, per ASTM F2170, predicts adhesive performance. We’ve seen $40,000 flooring failures caused by this single error.
- Treating musty odor with air purifiers or ozone generators. These address the symptom (odor molecules) while the cause (active mold colonization) continues. Ozone can also degrade rubber and electrical components. Source elimination and drying are the only effective responses.
- Assuming Los Angeles’s dry climate prevents moisture problems. Coastal marine layers, irrigation overspray, and slab-on-grade construction create localized moisture conditions that ignore regional averages. A home in Santa Monica or Venice can have higher interior RH than a home in Phoenix.
- Waiting for visible mold before acting. Visible mold is a late-stage indicator. The economic inflection point is at the measurable precursor stage, six to eighteen months earlier. Insurance coverage dynamics also favor documented sudden events over gradual damage.
- Accepting a verbal estimate or scope. Haven Standard, Clause 1 exists because verbal scopes create disputes. A written price before work begins protects both parties. If a restoration company will not put their scope and pricing in writing, that is itself a warning sign.
- Failing to document pre-loss conditions. In a claim dispute, the homeowner bears the burden of proving that damage is new and sudden. Photographs, moisture logs, and dated observations are the evidence that satisfies this burden.
When to Call a Professional
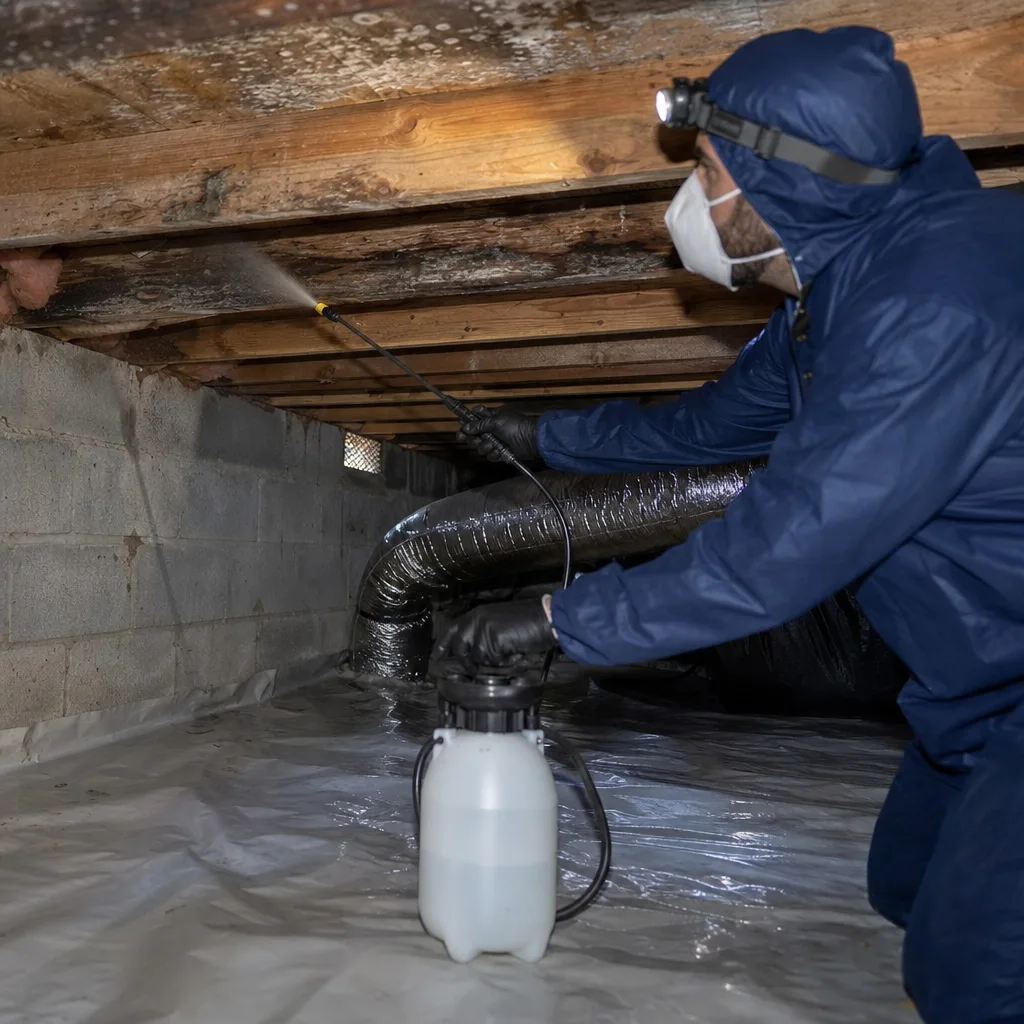
Call when a 72-hour monitoring sequence confirms active intrusion rather than condensation. Call when moisture readings exceed the thresholds in this guide and you cannot identify and eliminate the source yourself. Call when you discover conditions that will affect an insurance claim and need documentation that will survive adjuster review.
Do not call for condensation that resolves with ventilation, or for cosmetic cracks that show no water movement, or for single-day humidity spikes with obvious causes. We will walk you through the 72-hour sequence by phone and tell you honestly whether you need service.
DryMark Restoration Los Angeles offers free estimates in Los Angeles. Our live phone coverage is available 24 hours a day, 7 days a week - no voicemail trees, no next-business-day callbacks while water is still moving. Every job is quoted in writing before work begins, documented with a photo record on every visit, and covered by the 365-Day Done Right Promise under The Haven Standard. Call (424) 351-3396.
Frequently Asked Questions
Comprehensive moisture mapping with written documentation typically runs $250 to $600 for a residential assessment in Los Angeles. This includes pinless and pin-type meter readings, thermal imaging to identify evaporation patterns, and in-situ slab RH testing if flooring concerns exist. DryMark Restoration Los Angeles applies this assessment fee toward any remediation work contracted. Call (424) 351-3396 to schedule - estimates are free for standard scope development.
Probably not for the full loss. Insurance policies cover sudden and accidental damage, not gradual deterioration or maintenance issues that the homeowner knew or should have known about. The key is documentation: if you have dated moisture logs showing a new spike above previous baseline, or photos proving a condition worsened suddenly, you have evidence of a new event. Without documentation, the adjuster will classify the damage as long-term and reduce or deny the claim. This is why we emphasize the 72-hour monitoring sequence - it creates the timestamped record that distinguishes sudden from chronic.
A $30 pinless meter will reliably detect the 19% drywall threshold and identify areas that need professional assessment. It will not give you the precision needed for insurance documentation or for flooring decisions over concrete. For those purposes, calibrated equipment and standardized protocols (ASTM F2170 for slabs, IICRC S500 for water damage) are necessary. We recommend homeowners own a basic meter for screening; call us when readings are elevated or when you need documentation-grade data.
Our live dispatch answers every call, 24 hours a day, 7 days a week. For active water losses - Category 1, 2, or 3 intrusions where water is still moving or saturation is spreading - we typically have a technician on site within 60 to 90 minutes in the Los Angeles basin. Response time varies by traffic and location; we’ll give you a specific ETA when you call. For non-emergency assessments, we schedule within 24 hours. Call (424) 351-3396.
Most companies photograph the loss. We document the drying process: daily moisture readings by room, psychrometric data showing vapor pressure differential and dehumidifier performance, equipment placement maps, and a written scope signed before work begins. This produces the evidence trail that insurers pay without dispute. Our founder built this system as a former adjuster who saw legitimate claims denied for lack of documentation. The Haven Standard requires it on every job.
Visible growth on a surface larger than 10 square feet, or any growth resulting from Category 2 or 3 water, requires professional remediation per EPA and IICRC guidelines. “Cleaning” visible mold without addressing the moisture source and verifying airborne spore levels leaves the colonization active and the health exposure unaddressed. We provide a written scope that specifies containment, air filtration, removal protocols, and post-remediation verification - with a price before work begins, per Haven Standard, Clause 1. For smaller, limited areas with clear source elimination, we may recommend a targeted approach. The assessment determines the appropriate response.
Check three things: whether the condensate drain is flowing freely and not backing up; whether the evaporator coil is clean and not icing; and whether the duct system is sealed and not pulling attic or crawl space air into conditioned space. In Los Angeles, duct leakage is a major hidden moisture source, especially in homes with attic ducts and negative pressure imbalances. A simple test: with the air handler running, hold a smoke pencil or incense stick near return air grille edges. Smoke drawn inward indicates leakage that bypasses filtration and introduces unconditioned, potentially humid air. If you find this pattern, an HVAC contractor should seal the return plenum; if moisture damage has resulted, we can assess and document.
The Bottom Line
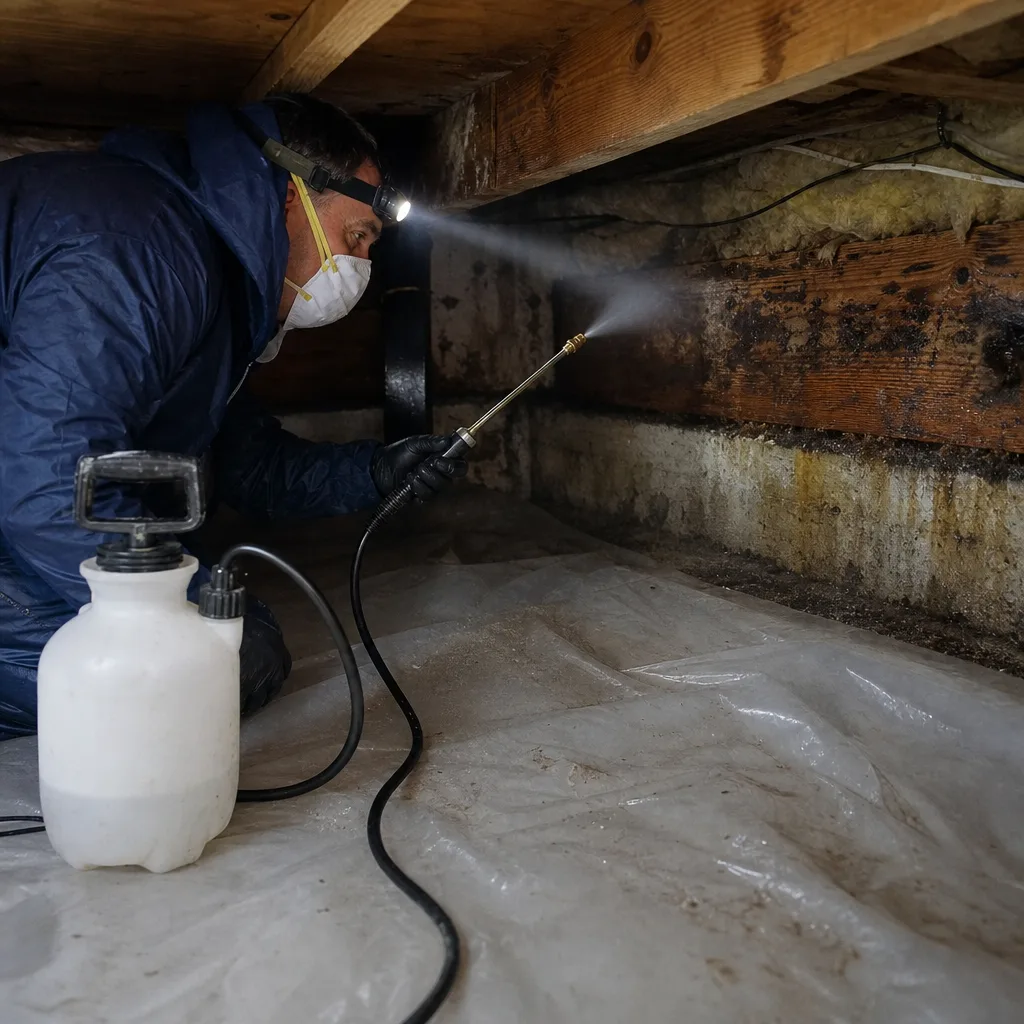
The most expensive restoration projects we scope in Los Angeles began as numbers that no one measured: humidity that climbed and stayed, drywall that read 22% at the baseboard, a slab that tested 89% RH before flooring went down. The homeowners who spend least are those who treat warning signs as data points with thresholds, not as sensory impressions to interpret. A $150 moisture meter and a $25 humidity logger, used with the discipline this guide describes, will catch most intrusion paths in time for $800 to $2,500 intervention instead of $8,000 to $25,000 reconstruction. The documentation you create in the process protects your insurance coverage if the loss becomes a claim. When the numbers exceed the thresholds, or when you need professional documentation that meets adjuster standards, we’re available - with a written price before work begins, a photo record on every visit, and the 365-Day Done Right Promise under The Haven Standard.
Written by Alicia Brennan, Owner at DryMark Restoration Los Angeles, serving Los Angeles since 2011.